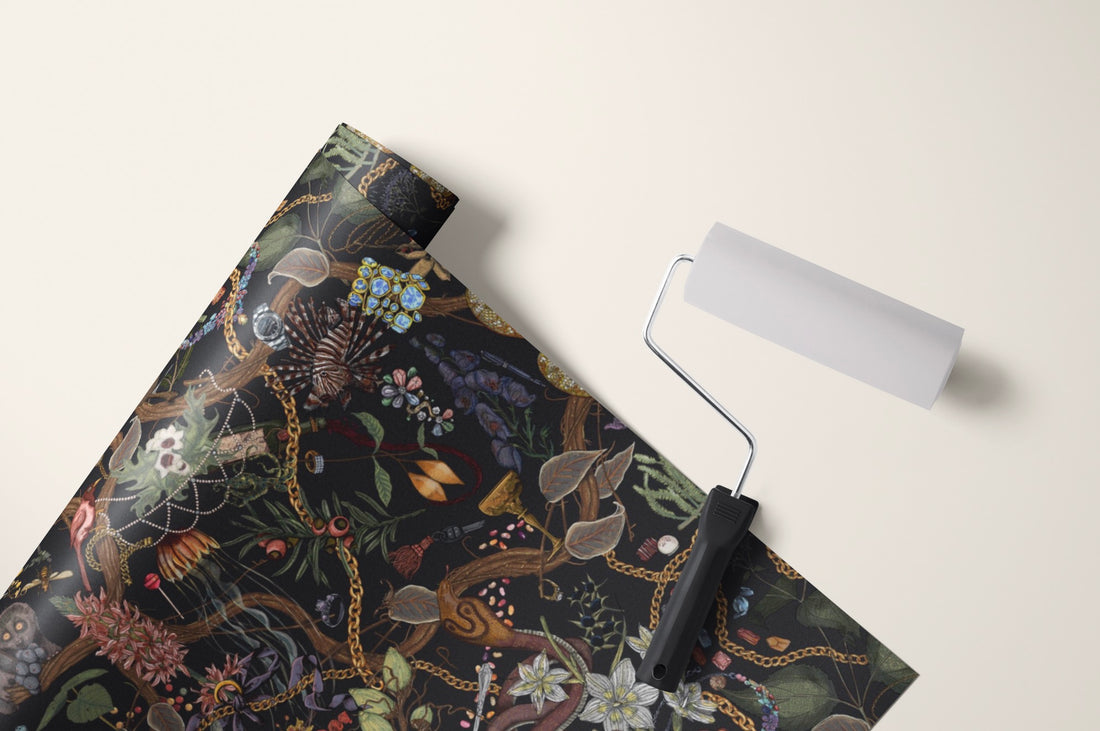
How to Hang Wallpaper: A Step-by-Step Guide for Beginners
Share
You don’t have to be a professional to hang wallpaper successfully. With the right tools and a bit of patience, anyone can transform a room. The key to a flawless finish lies in proper wall preparation. Ensuring your walls are smooth, clean, and primed will make the application process easier and more effective, resulting in a stunning final look. Whether it’s around windows, doors, or tricky corners, taking the time to prep your walls is the most important step for a beautiful wallpaper installation.
Removing Old Wallpaper
-
Prepare the Area:
- Move furniture and cover the floor with drop cloths.
- Remove any wall fixtures and outlet covers.
-
Score the Wallpaper:
- Use a wallpaper scorer to create small holes in the wallpaper, allowing the removal solution to penetrate.
-
Apply Wallpaper Removal Solution:
- Mix a wallpaper removal solution or use a steamer.
- Apply the solution with a sponge or spray bottle, focusing on a small section at a time.
-
Scrape Off Wallpaper:
- Use a putty knife to scrape off the softened wallpaper.
- Be gentle to avoid damaging the wall underneath.
-
Clean the Walls:
- Wash the walls with warm water and mild soap to remove any adhesive residue.
- Allow the walls to dry completely before proceeding.
Preparing the Walls
-
Check the Wall Surface:
- Ensure walls are smooth, clean, dry, and free of cracks or holes.
- Remove any existing wallpaper and flaking paint.
-
Smooth the Surface:
- Fill holes and sand down uneven areas.
- Clean the walls to remove dust and grease.
-
Prime the Walls:
- Apply a primer if the wall color contrasts sharply with the new wallpaper.
-
Mark Your Starting Point:
- Use a level or plumb line to draw a vertical starting line on the wall.
Hanging the Wallpaper
-
Prepare the Wall:
- Ensure the wall is smooth, clean, dry, and sound. Remove any flaking paint and old wallpaper. Fill in uneven surfaces and apply a primer if the wall color contrasts with the new wallpaper.
-
Mix the Paste:
- Always use paste specifically designed for non-woven wallpaper.
- Use a bucket and whisk to mix the paste.
- Sprinkle the paste into 4 liters of cold water, mix briskly for 30 seconds.
- Stir again after 3 minutes, and finally after 15 minutes, ensuring it's well-mixed.
-
Gather Tools:
- Rollers and tray, bucket, paintbrush, spirit level or plumb line, steel ruler, wallpaper sponge, pencil, craft knife, wallpapering tool or brush.
-
Hang the Wallpaper:
- Ensure you have all the wallpaper rolls and that they are not defective.
- Start from the left corner and work to the right. Draw a vertical line one wallpaper width from the left near the ceiling to ensure straight alignment.
- Roll paste onto the wall, covering an area 1.5 lengths wide at a time.
- Hang the wallpaper roll from the floor to the ceiling, aligning it with the pencil line.
-
Finish Up:
- Smooth each length with a wallpapering tool or brush from the middle outwards.
- Remove excess paste immediately with a wet sponge.
- Trim excess wallpaper at the ceiling and floor with a sharp blade.
- Keep the room ventilated and at normal temperature for 24 hours to allow the paste to dry.
Handling Tricky Areas
-
Around Windows and Doors:
- Measure and cut wallpaper to fit around frames, leaving an extra 2-3 inches for adjustments.
- Align and smooth the wallpaper, trimming excess with a utility knife.
-
Around Electrical Outlets:
- Turn off power and remove cover plates.
- Hang wallpaper over the outlet, cut an "X" over it, and trim the flaps to the box edges.
- Replace cover plates.
-
Around Corners:
- Measure and cut wallpaper, adding an extra inch to wrap around corners.
- Smooth wallpaper around the corner and overlap with the next piece for a seamless look.
- Use a seam roller to press edges for a tight bond.
Conclusion
Hanging wallpaper is a rewarding DIY project that can transform any room. By focusing on proper wall preparation and carefully handling tricky areas, you can achieve professional-looking results. With patience and attention to detail, you’ll be able to enjoy your beautifully wallpapered space for years to come.

